I've been wanting to try a Corner to Corner (C2C) blanket for a while. Now Amelia has her blanket, Zoe (3) has been asking me multiple times a day when her blanket will be done. Poor girl doesn't understand the concept of MONTHS yet. So far it's been a learning experience and a bit trickier than I thought but I'm starting to get the hang of it.
Chart:
Materials: (Vanna's Choice Yarn)
F Hook
Sources:
Inspired by these pictures
https://s-media-cache-ak0.pinimg.com/originals/f3/65/1e/f3651e923cd9c9e8ba6719e18c291f41.jpg
http://wondersofdisney.yolasite.com/resources/disjunior/mcstuffins/docexaminelambie2.png
Tuesday, February 9, 2016
Owls in a Tree Blanket
Materials: (Vanna's Choice Yarn)
White (dyed with glow in the dark acryllic paint using this method - http://hodgepodgecrochet.net/2014/09/diy-glow-in-the-dark-yarn/) - for the stars and moon
Navy - sky
Raspberry - bottom left owl, hearts
Aqua - letters & top owl
Eggplant - right owl
Oatmeal - inside of owls
Black - owl eyes
Silver Heather - tree
Orange (from my stash) - owl beaks
F/5-3.75mm Hook
Graph:


Notes:
I actually just did 3x3 squares for each of the stars as this X design did not work well in SC.
I highly recommend using bobbins. These are just small ones I picked up from Target but I've since purchased the huge ones you can find at Dollar Tree. They should make for less knots when the bobbins run out. I also learned to change color every time there was a color change more than a couple of stitches. It made for a much cleaner finish without carrying yarn across different colors, especially with the big difference between the Navy and Silver Heather.

I experimented with a few different joining techniques but settled on this one by the end of the project. I only used it when joining two strands of the same color though. http://jennybellairs.blogspot.com/2010/01/fast-pictorial-guide-to-weavers-knot.html?m=1
Sources:
Owl - https://www.pinterest.com/pin/297800594089339342/
Tree - https://s-media-cache-ak0.pinimg.com/originals/cf/85/b5/cf85b5362bdfab2e4c718c07e10d2c99.jpg
Alphabet - https://www.pinterest.com/pin/297800594089335917/
You are welcome to sell what you make from this pattern, but please link back to this blog to credit the pattern.
Wednesday, January 20, 2016
Puff Stitch Hat
This one was for me. I needed something a bit more colorful
Pattern:
http://www.bhookedcrochet.com/2015/01/06/free-puff-stitch-hat-pattern/
Pattern:
http://www.bhookedcrochet.com/2015/01/06/free-puff-stitch-hat-pattern/
Materials:
Red Heart Unforgettable in dragonfly.
H hook
Notes:
Adult large size with an extra few rows of puff stitch and single crochet. . . . I have a big head AND lots of hair.
Sunday, December 20, 2015
Sparkley Silver Cowl
This ended up being a Christmas gift for Amelia's 1st Grade Teacher.
Pattern:http://www.allcraftconnection.org/2015/03/simple-lacy-crochet-cowl-instructions.html
Materials:
I hook
Caron Simply Soft Party in Silver Sparkle
Notes:
Ch 106 and then followed pattern as written
Tuesday, February 25, 2014
Kate's Baby Blanket
My childhood best friend just had a baby. . . so a great excuse for a blanket. As I have two girls, I haven't explored many baby boy crochet patterns but love Pinterest for giving me some inspiration. This was relatively quick to pull together and I love how it turned out.
I started with Lucy's ripple pattern from Attic 24. I love how simple it is. I wanted to try out Moogly Blog's Standard Double Crochet technique to eliminate the intermingling of colours when I'm joining. My goal was to get the blanket to measure 29" x 36" as this is the size of our most used blanket for the girls. After a little experimenting I realized it was important to use Lucy's method of 14 stitches repeating rather than using a multiple of just 7 (you don't end up with the same number of increases and decreases in each row) so I used edging to get closer to the dimensions I was after. It ended up being 28" x 35 1/2" so not too far off.
Materials:
Bernat Softee Baby in pale blue (2 1/2 balls)
Bernat Softee Baby in heather and white
Worsted weight yarn in bright colors and black for cars
H/8-5mm Hook for Chain
G/6-4mm Hook for Blanket
F/5-3.75mm Hook for Cars
Abbreviations (Using US Terms):
Blanket:
Ch 108 with an H hook. I used a G hook for the rest of the blanket.
Repeat Attic 24's ripple pattern for 19 rows (note that she uses UK terms so Treble Crochet = US DC). Finish off.
Make the Road: Join grey yarn using Moogly Blog's Standard Double Crochet technique.
I started with Lucy's ripple pattern from Attic 24. I love how simple it is. I wanted to try out Moogly Blog's Standard Double Crochet technique to eliminate the intermingling of colours when I'm joining. My goal was to get the blanket to measure 29" x 36" as this is the size of our most used blanket for the girls. After a little experimenting I realized it was important to use Lucy's method of 14 stitches repeating rather than using a multiple of just 7 (you don't end up with the same number of increases and decreases in each row) so I used edging to get closer to the dimensions I was after. It ended up being 28" x 35 1/2" so not too far off.
Materials:
Bernat Softee Baby in pale blue (2 1/2 balls)
Bernat Softee Baby in heather and white
Worsted weight yarn in bright colors and black for cars
H/8-5mm Hook for Chain
G/6-4mm Hook for Blanket
F/5-3.75mm Hook for Cars
Abbreviations (Using US Terms):
ch - Chain
st/sts - Stitch/Stitches
sl st - Slip Stitch
SC - Single Crochet
HDC - Half Double Crochet
DC - Double Crochet
TC - Triple Crochet
Blanket:
Ch 108 with an H hook. I used a G hook for the rest of the blanket.
Repeat Attic 24's ripple pattern for 19 rows (note that she uses UK terms so Treble Crochet = US DC). Finish off.
Make the Road: Join grey yarn using Moogly Blog's Standard Double Crochet technique.
2 DC rows in grey. Don't finish off.
Slip stitch across in white. Finish off.
2 more DC rows in grey. Finish off.
Join Blue yarn using Moogly Blog's Standard Double Crochet technique.
41 DC rows in blue or until blanket measures roughly 34". Don't finish off.
Edging:
Round 1:
Start working across the top of the blanket. The goal is to make a straight edge.
Ch 1, 3 SC, *2 HDC, 4 DC, 2 HDC, 6 SC*, repeat from * to * across, ending with 3 SCs. HDC in same corner stitch as last SC.
2 DC in each row all the way down the side of the blanket, working into the chains and stitches rather than just in space created by the chain or stitch.
2 DC in the corner stitch, DC, *2 HDC, 6 SC, 2 HDC, 4 DC*, repeat from * to * across, ending with 2 DC. 2 DC in the corner stitch.
2 DC in each row all the way up the side of the blanket, working into the chains and stitches rather than just in space created by the chain or stitch. Join to first SC.
Round 2: Ch 2, DC around, working to DC into each corner. Join to first DC.
Round 3: Ch 1, SC around. Join to first SC.
Cars:
Using an F Hook.
Ch 11
Row 1: SC in 2nd ch from hook, SC across (10 SC).
Row 2: ch 1, 2 SC in 1st St, SC in next 8 sts, 2 SC in last st (12 SC).
Row 3: ch 1, SC across (12 SC).
Row 4: sl st, SC in next 10 sts, sl st (12).
Row 5: sl st, SC, HDC, ch 5, skip 2 sts, TC in 3rd st, ch 5, skip 3 sts, HDC in 4th st, SC, sl st.
Row 6: SC around with 2 SCs in bottom corners. Finish off.
Wheels: With black, make a magic ring. 7 HDC in ring. Join to first HDC. Finish off with long tail to attach.
Sew wheels to cars then cars to the road on the blanket using blue yarn.
41 DC rows in blue or until blanket measures roughly 34". Don't finish off.
Edging:
Round 1:
Start working across the top of the blanket. The goal is to make a straight edge.
Ch 1, 3 SC, *2 HDC, 4 DC, 2 HDC, 6 SC*, repeat from * to * across, ending with 3 SCs. HDC in same corner stitch as last SC.
2 DC in each row all the way down the side of the blanket, working into the chains and stitches rather than just in space created by the chain or stitch.
2 DC in the corner stitch, DC, *2 HDC, 6 SC, 2 HDC, 4 DC*, repeat from * to * across, ending with 2 DC. 2 DC in the corner stitch.
2 DC in each row all the way up the side of the blanket, working into the chains and stitches rather than just in space created by the chain or stitch. Join to first SC.
Round 2: Ch 2, DC around, working to DC into each corner. Join to first DC.
Round 3: Ch 1, SC around. Join to first SC.
Cars:
Using an F Hook.
Ch 11
Row 1: SC in 2nd ch from hook, SC across (10 SC).
Row 2: ch 1, 2 SC in 1st St, SC in next 8 sts, 2 SC in last st (12 SC).
Row 3: ch 1, SC across (12 SC).
Row 4: sl st, SC in next 10 sts, sl st (12).
Row 5: sl st, SC, HDC, ch 5, skip 2 sts, TC in 3rd st, ch 5, skip 3 sts, HDC in 4th st, SC, sl st.
Row 6: SC around with 2 SCs in bottom corners. Finish off.
Wheels: With black, make a magic ring. 7 HDC in ring. Join to first HDC. Finish off with long tail to attach.
Sew wheels to cars then cars to the road on the blanket using blue yarn.
Sunday, February 16, 2014
Throwback Post: My First Blanket
The project I've just finished is a secret until it reaches its recipient so here's a throwback post in the meantime:
December 2011
This was a blanket for baby Tenley (who is now two!). It's made up of hexagons in Caron Simply Soft in White. I've learned over the years that blankets get heavy quickly so if I did it again I'd use a light weight yarn but I was very pleased with it as a first attempt. It was time consuming but a great on the go project as I only had to have a "square" or two with me at a time.
I followed the Pinwheels pattern from the book Make One For Baby. I used an E/4-3.5mm hook and as my motifs turned out bigger than the pattern I'm sure I made less than the 52 stated in the pattern but honestly can't remember.
December 2011
This was a blanket for baby Tenley (who is now two!). It's made up of hexagons in Caron Simply Soft in White. I've learned over the years that blankets get heavy quickly so if I did it again I'd use a light weight yarn but I was very pleased with it as a first attempt. It was time consuming but a great on the go project as I only had to have a "square" or two with me at a time.
I followed the Pinwheels pattern from the book Make One For Baby. I used an E/4-3.5mm hook and as my motifs turned out bigger than the pattern I'm sure I made less than the 52 stated in the pattern but honestly can't remember.
Tuesday, January 28, 2014
Starry Stitch Diaper Cover
Materials:
Lion Brand Wool-Ease Worsted Weight Yarn in Natural Heather
G/6-4.25mm hook (Disclaimer - I crochet loosely so a normal person would use an H or I hook)
Stitch Marker
Tapestry Needle
1" Button
Abbreviations (Using US Terms):
ch - Chain
st/sts - Stitch/Stitches
SC - Single Crochet
HDC - Half Double Crochet
DC - Double Crochet
TC - Triple Crochet
SC2TOG - Single Crochet 2 Together
Diaper Cover (to fit 0-9 months)
Note: The first (1 SC, 1 HDC, 1 DC) set in each row is worked into the same stitch as the chain.
Ch 61.
Row 1: SC in second stitch then across, ch 2, turn (60 SC).
Row 2: TC in same stitch as ch then across, ch 1, turn (60 TC).
Row 3: SC across, finish off (60 SC).
Row 4: Join with slip stitch in 17th stitch, ch 2. *(1 SC, 1 HDC, 1 DC) in next stitch, skip next 2 sts* 9 times. SC in last st, ch 1, turn (9 stars). There should be 16 open stitches on the other side.
Rows 5-13: *(1 SC, 1 HDC, 1 DC) in next stitch, skip next 2 sts* 9 times. SC in last st, ch 1, turn (9 stars).
Row 14: (SC2TOG, 1 HDC, 1 DC) in same stitch as ch, skip next 2 sts, *(1 SC, 1 HDC, 1 DC) in next stitch, skip next 2 sts* 7 times, SC2TOG in last st, ch 1, turn (8 stars).
Row 15: (SC2TOG, 1 HDC, 1 DC) in same stitch as ch, skip next 2 sts, *(1 SC, 1 HDC, 1 DC) in next stitch, skip next 2 sts* 6 times, SC2TOG in last st, ch 1, turn (7 stars).
Row 16: (SC2TOG, 1 HDC, 1 DC) in same stitch as ch, skip next 2 sts, *(1 SC, 1 HDC, 1 DC) in next stitch, skip next 2 sts* 5 times, SC2TOG in last st, ch 1, turn (6 stars).
Row 17: (SC2TOG, 1 HDC, 1 DC) in same stitch as ch, skip next 2 sts, *(1 SC, 1 HDC, 1 DC) in next stitch, skip next 2 sts* 4 times, SC2TOG in last st, ch 1, turn (5 stars).
Rows 18-22: *(1 SC, 1 HDC, 1 DC) in next stitch, skip next 2 sts* 5 times. SC in last st, ch 1, turn (5 stars).
Row 23: (2 SC, 1 HDC, 1 DC) in same st as ch, skip next 2 sts, *(1 SC, 1 HDC, 1 DC) in next stitch, skip next 2 sts* 5 times, 3 SC in last st, ch 1, turn (5 stars).
Row 24: (2 SC, 1 HDC, 1 DC) in same st as ch, skip next 2 sts, *(1 SC, 1 HDC, 1 DC) in next stitch, skip next 2 sts* 6 times, 3 SC in last st, ch 1, turn (6 stars).
Rows 25-36: *(1 SC, 1 HDC, 1 DC) in next stitch, skip next 2 sts* 7 times. SC in last st, ch 1, turn (7 stars).
Ch 1, SC around entire diaper cover, placing 2 SC in each corner. Finish off and sew on button.
Buttonhole Flower Accent:
Using an F/5-3.75mm hook and Lion Brand Worsted Weight Wool-Ease yarn in Dark Rose Heather and Rose Heather crochet the flower from Mimi Alelis's Crochet and Other Stuff blog.
Dark Grey Simple Diaper Cover:
This came out smaller, probably for a preemie or newborn. I followed Amber's pattern at Crochet A Flower using an F/5-3.75mm hook and Lion Brand Worsted Weight Wool-Ease yarn in Oxford Grey. I added the same removable flower accent.
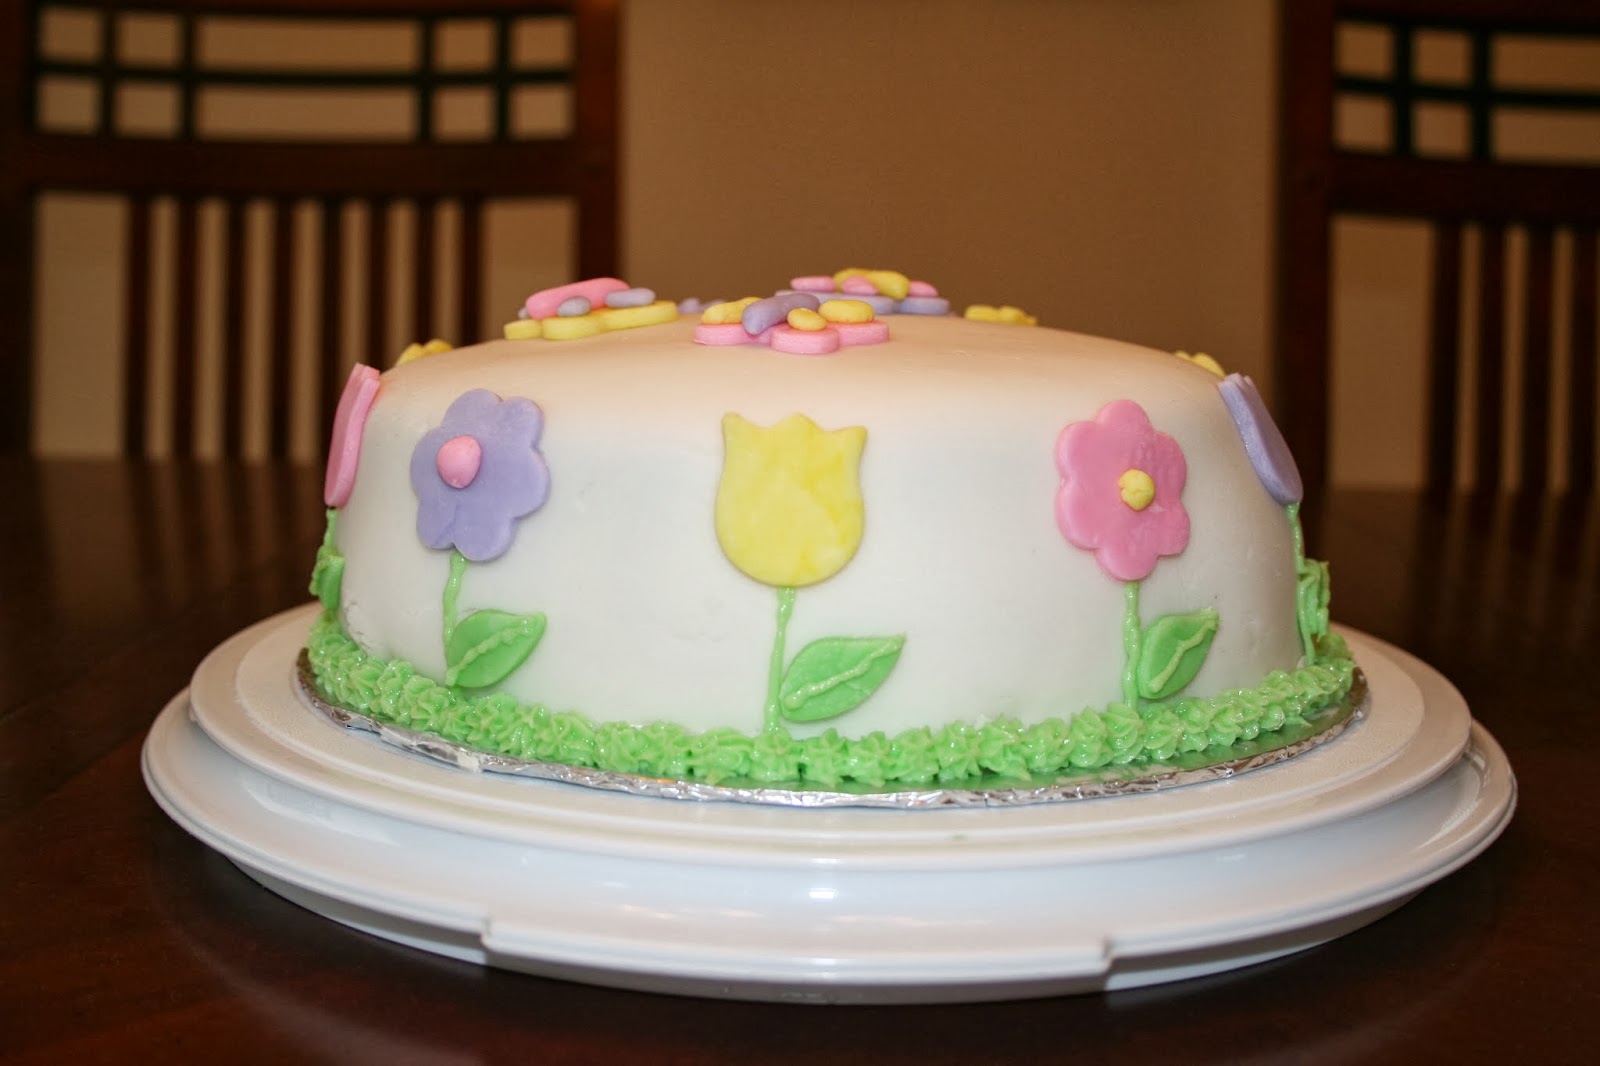
Throwback Post: My First Cake
As part of this blog, I plan to document some of my earlier projects. This was my first attempt at cake making. . . well the first I have photos of. There was an interesting birthday cake I made for Kevin the year before this that had so many complicated layers to it (thank you Martha Stewart). I believe one of them didn't work quite right so there was some scrambled egg involved.
For reasons that now escape me, I refused to entertain the idea of buying fondant even though I'd never worked with it before. So I spent several hours making the fondant for this cake from scratch. . . Never again. I now make marshmallow fondant. . . much quicker and 1000 times tastier.
This was Amelia's Baptism Cake in March 2009. I believe it was lemon cake inside (the same cake I made as the center of my Baked Alaska - it's been a favourite for a while).
For reasons that now escape me, I refused to entertain the idea of buying fondant even though I'd never worked with it before. So I spent several hours making the fondant for this cake from scratch. . . Never again. I now make marshmallow fondant. . . much quicker and 1000 times tastier.
This was Amelia's Baptism Cake in March 2009. I believe it was lemon cake inside (the same cake I made as the center of my Baked Alaska - it's been a favourite for a while).
As a side note. . . oh for the days when I could see the wood of our dining room table. It now has a protective pad plus a pink plastic table cloth on it as the girls have taken over the dining room as a craft room. I can imagine what damage little Zoe could do to the finish in 30 seconds flat.
Sunday, January 5, 2014
Zoe the Zebra
A Zoe the Zebra hat has been on my to do list for a few months ever since Sarah at Repeat Crafter Me posted her design for her newborn Zoe. As I was making the beanie, and realizing just how many ends I would have to weave in (my least favourite part of crocheting), I thought about her recent candy cane hat pattern and wondered if it would work using different stitches. So I gave it a try and it did!
![]() |
| Who would want to weave in all those ends? |
As I've merged the two patterns, I've written my directions in full as it's just too confusing to only post the changes this time. But please refer to Sarah's posts (linked above) for great pictures and tutorials, especially for starting the candy cane pattern and building the Zebra pieces. As my 16 month old Zoe often wears her hats unsupervised I didn't want to use buttons or felt so crocheted all the additions.
Materials:
Vanna's Choice yarn in white and pink
Red Super Saver yarn in black
F/5-3.75mm hook and E/4-3.50mm hook (Disclaimer - I crochet loosely so a normal person would use H and G hooks)
2 Stitch Markers
Tapestry Needle
Abbreviations (Using US Terms):
ch - Chain
SC - Single Crochet
DC - Double Crochet
HDC - Half Double Crochet
W - White Yarn
B - Black Yarn
Magic Circle - A great way to start working in the round - I love this tutorial from Ambassador Crochet.
Beanie (Toddler Size):
Round 1: With F hook and white yarn, make a magic ring, ch 1, 2 SC, 2 HDC, DC in ring. Don't fasten off or pull tight. Join black yarn and ch 1 onto magic ring next to the white DC, 5 SC with black yarn, pull tight (5 W DC, 5 B SC).
Round 2: With white, 2 DC in next 5 stitches. With black, 2 SC in next 5 stitches. (10 W DC, 10 B SC)
Round 3: With white, *2 DC in first stitch, DC in next stitch* five times. With black, *2 SC in first stitch, SC in next stitch* five times. (15 W DC, 15 B SC). Place a marker in the last stitch of each colour. It helped me see the beginning of each round.
Round 4: With white, *2 DC in first stitch, DC in next 2 stitches* five times. With black, *2 SC in first stitch, DC in next 2 stitches* five times. (20 W DC, 20 B SC)
Round 5: With white, *2 DC in first stitch, DC in next 4 stitches* four times. With black, *2 SC in first stitch, DC in next 4 stitches* four times. (24 W DC, 24 B SC)
Round 6: With white, *2 DC in first stitch, DC in next 11 stitches* twice. With black, *2 SC in first stitch, SC in next 11 stitches* twice. (26 W DC, 26 B SC)
Round 7: With white, *2 DC in first stitch, DC in next 12 stitches* twice. With black, *2 SC in first stitch, SC in next 12 stitches* twice. (28 W DC, 28 B SC)
Round 8: With white, *2 DC in first stitch, DC in next 13 stitches* twice. With black, *2 SC in first stitch, SC in next 13 stitches* twice. (30 W DC, 30 B SC)
Rounds 9-16: 30 white DC, 30 black SC. Use stitch markers to define rounds.
Finish off: With white, HDC, SC, slip stitch. With black, SC in next 2 stitches, slip stitch.
Here's the two beanies side by side. Candy Cane on the right and Sarah's Zebra hat pattern on the right. Note the lack of seem with the Candy cane version.

Earflaps (make 2):
Use the joins between black and white to mark the centers of each side of the hat. Join white 5 stitches before the center point.
Row1: Ch 1, SC in next 10, ch 1, turn (10 SC)
Row 2: SC decrease, SC in next 6 stitches, SC decrease, ch 1, turn (8 SC)
Row 3: SC across, ch 1, turn (8 SC)
Row 4: SC decrease, SC in next 4 stitches, SC decrease, ch 1, turn (6 SC)
Row 5: SC across, ch 1, turn (6 SC)
Row 6: SC decrease, SC in next 2 stitches, SC decreases, ch 1, turn (4 SC)
Row 7: SC across, ch 1, turn (4 SC)
Row 8: 2 SC decreases, ch 1, turn (2 SC)
Row 9: SC decrease, fasten off and weave in ends)
With pink accent colour, join at any point of hat, ch 1 and SC around, join with a slip stitch to first stitch, fasten off, and weave in ends.
Ears (make 2):
Make outer ear in black, using F hook. Make inner ear in white using E hook so it comes out a bit smaller.
Row 1: Ch 5, SC in 2nd ch from hook and in remaining chs, ch 1, turn (4 SC)
Row 2: 2 SC in first stitch, SC in next 2 stitches, 2 SC in last stitch, ch 1, turn (6 SC)
Row 3-5: SC in each stitch across, ch 1, turn (6 SC)
Row 6: SC decrease, SC in next 2 stitches, SC decrease, ch 1, turn (4 SC)
Row 7: SC in each stitch across, ch 1, turn (4 SC)
Row 8: SC decrease twice, SC around whole ear. Fasten off, leaving a long tail in black to sew onto hat.
Join the inner and outer ears together by SC around the white piece into the front loop of the black piece with pink yarn.
Sew ears onto hat by pinching the bottom of the ear and stitching it together with a tapestry needle. Then attach to hat at the crease through two black SCs in the third and fourth round. Weave through the same SCs and ear until secure.
Snout:
Row 1: With black, ch 7, SC in 2nd ch from hook and in remaining chs, ch 1, turn (6 SC)
Row 2: 2 SC in first stitch, SC in next 2 stitches, 2 SC in last stitch, ch 1, turn (8 SC)
Row 3: 2 SC in first stitch, SC in next 6 stitches, 2 SC in last stitch, ch 1, turn (10 SC)
Row 4: 2 SC in first stitch, SC in next 8 stitches, 2 SC in last stitch, ch 1, turn (12 SC)
Row 5: SC across, ch 1, turn (12 SC)
Row 6: SC decrease, SC in next 8 stitches, SC decrease, ch 1, turn (10 SC)
Row 7: SC decrease, SC in next 6 stitches, SC decrease, ch 1, turn (8 SC)
Row 8: SC decrease, SC in next 4 stitches, SC decrease, finish off, leaving a long tail to attach to hat (6 SC)
Nostrils (Make 2):
With pink, magic circle, ch 1, SC 5, join with slip stitch to first stitch, finish off.
Eyes (Make 2):
With black, magic circle, ch 2, HDC 5, join with slip stitch to first stitch, finish off.
Attach nostrils to snout, and snout and eyes to face. Weave in ends.
Mohawk:
Wrap a strand of pink and a strand of black yarn around four fingers 3 times. Pull through center stitch of the back of the hat in the bottom row to make a loop then pull yarn through the loop to attache. Repeat in every white round all the way up the hat. Cut loops and trim ends.
Saturday, January 4, 2014
Kate's "Devine" Hat
I needed a new hat. The one I made for myself last year is a little big and has a brim which may occasionally impede my line of sight when I'm driving. . . not a good combo.
So I made the Devine hat from Rheatheylia.com. It may have taken three attempts to get it right but it fits well now. And just in time for our brutal temperatures arriving on Monday (high of -5°F)
My littlest helper ran away with the wrapper from my yarn so I'm not sure which brand or colour I used, but it was worsted weight. To account for my loose technique, I used a g hook for the body of the hat and e hook for the ribbing. I ran out of yarn so the ribbing ending up being as follows:
Round 1: SC around
Round 2: DC around
Round 3: Front Post DC in one stitch, Back Post DC in next stitch, around
Round 4: SC around
Thursday, January 2, 2014
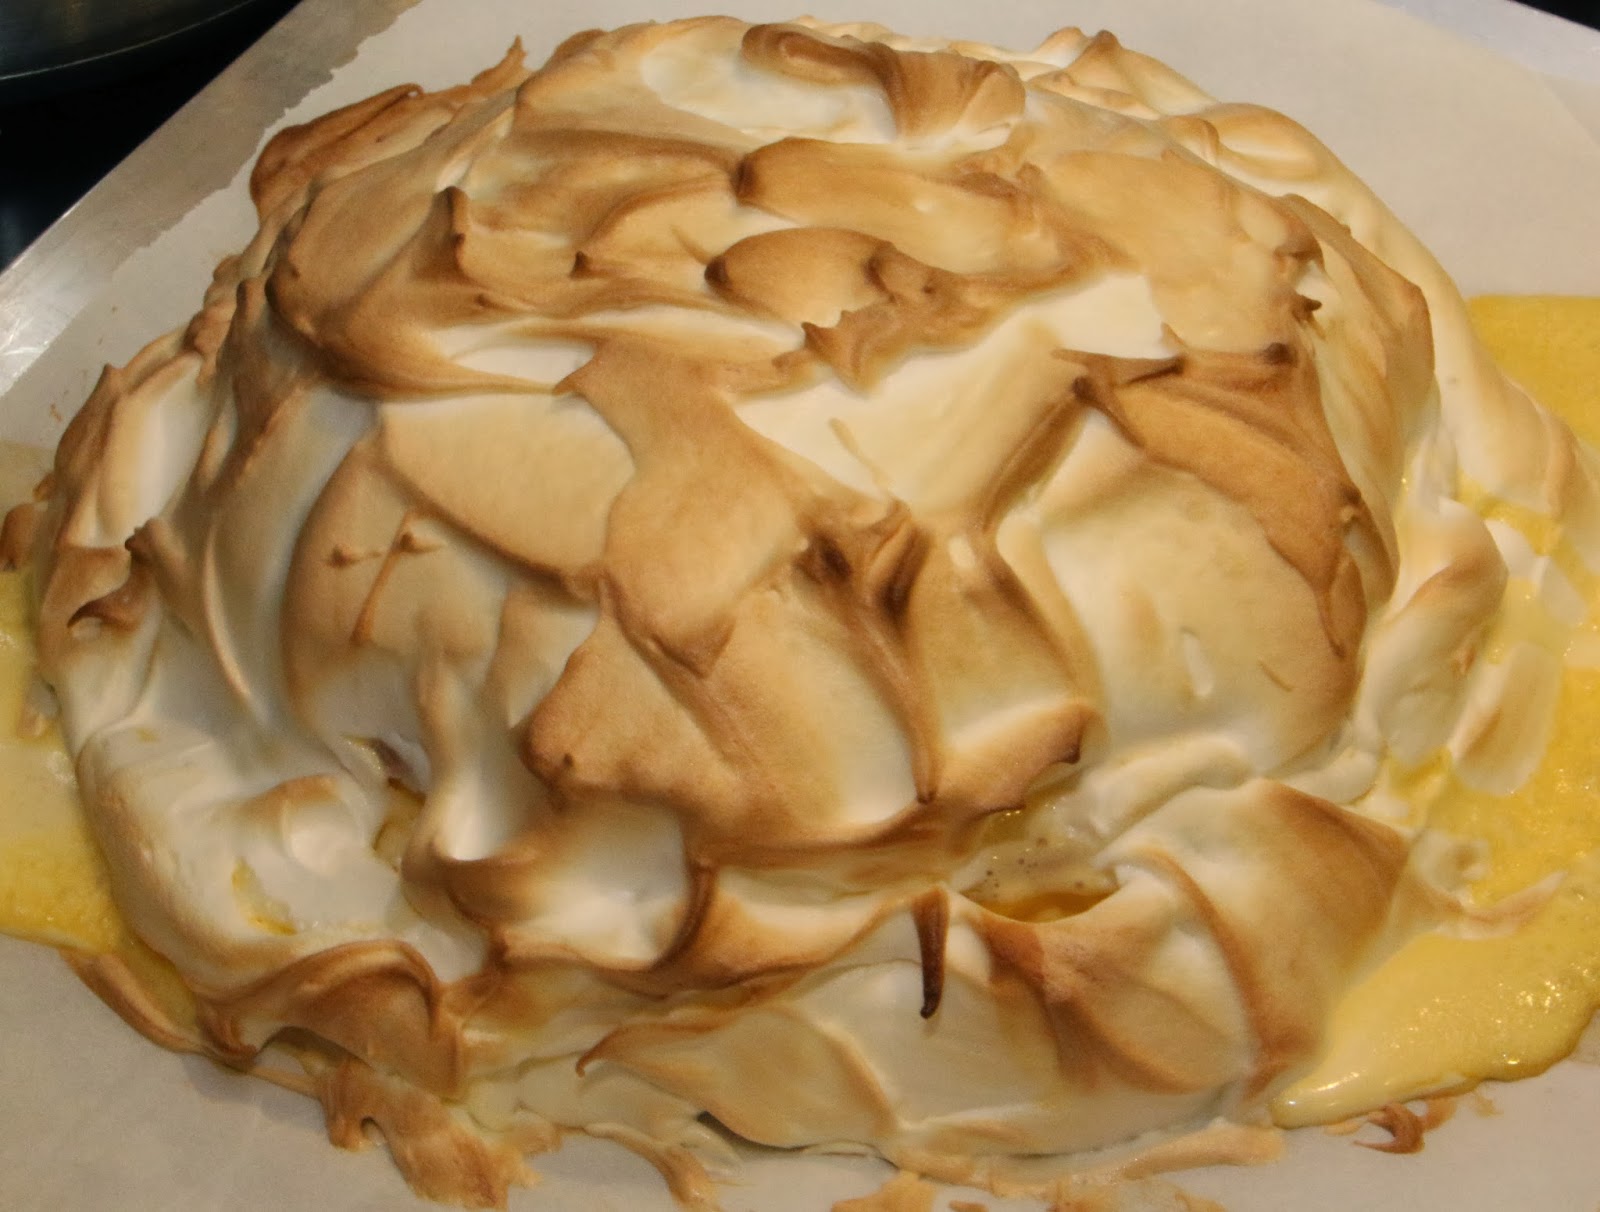
Baked Alaska - Happy New Year
Somehow, attempting to make Baked Alaska has become a New Years Eve tradition in our house over the past few years. I think I finally cracked it. The ice cream melted a little too much (so there was no way I was going to transfer it from baking sheet to serving plate) but other than that it turned out pretty well.
Cake (adapted from Cooking Light's Nathan's Lemon Cake Recipe)
Vegetable Shortening
2 tbsp all-purpose flour
2 cups all-purpose flour
1 tsp baking powder
1 tsp baking soda
1/2 tsp salt
1 1/2 cups granulated sugar
1/2 cup unsalted butter, softened
3 large eggs
1 cup nonfat buttermilk
2 tbsp finely grated lemon rind (about 1 lemon)
2 tbsp fresh lemon juice
Preheat oven to 350°F. Prepare one 8" cake pan by rubbing shortening on bottom and sides, lining the bottom with parchment paper and rubbing the top of the parchment with shortening. Then coat the bottom and sides with the 2 tbsp of flour. I made cupcakes out of the extra mixture so prepare about 8 cupcake cases too.
Sift 2 cups of flour, baking powder, baking soda and salt into a large bowl and set aside. Beat sugar and butter together in a mixer at medium speed for about 5 minutes until well blended. Add eggs one at a time, beating well after each one. Alternate adding flour mixture and buttermilk, beginning and ending with flour. Beat in the lemon rind and lemon juice.
Bake for 32 minutes (a little less for cupcakes), rotating pan half way through until a pick inserted in the center of the cake comes out clean. Allow to cool in the pan for 10 minutes then remove from pan and cool completely on a wire rack. Peel off parchment paper.
Assembly
French vanilla ice cream
4 egg whites
6oz granulated sugar
Let the ice cream melt for a few minutes. Line two 8" cake pans with plastic wrap (or cling film as it's known in this house). Spread a layer of about 1/2" of ice cream in each pan, cover with plastic wrap and freeze for about an hour. Wrap the cake in plastic wrap and freeze for about an hour (for easier cutting).
Divide the cake into two 8" layers using a bread knife. Remove plastic wrap. Assemble the cake and ice cream layers on a plate, wrap in plastic wrap and freeze for another hour or so.
Preheat oven to 450°F. At this point I took the cake and ice cream layers out of the freezer before I mixed the meringue as in the past my ice cream has been too hard. . . . I don't recommend it as things melted a little too much.
Whisk the egg whites on high speed until stiff (Mum told me you should be able to turn the bowl upside down without them falling out) then add the sugar and whisk until combined.
Place cake on a baking sheet covered with parchment paper. Spoon the meringue on top of the cake and ice cream and spread out to cover the sides. There should be at least 1" of meringue on top.
Bake for 8 minutes until the meringue starts to turn golden brown. Cut and serve immediately.
At Mum's suggestion, I may add some raspberries to the layers next year. . . or earlier if I can find an excuse to make it again.
Friday, December 27, 2013
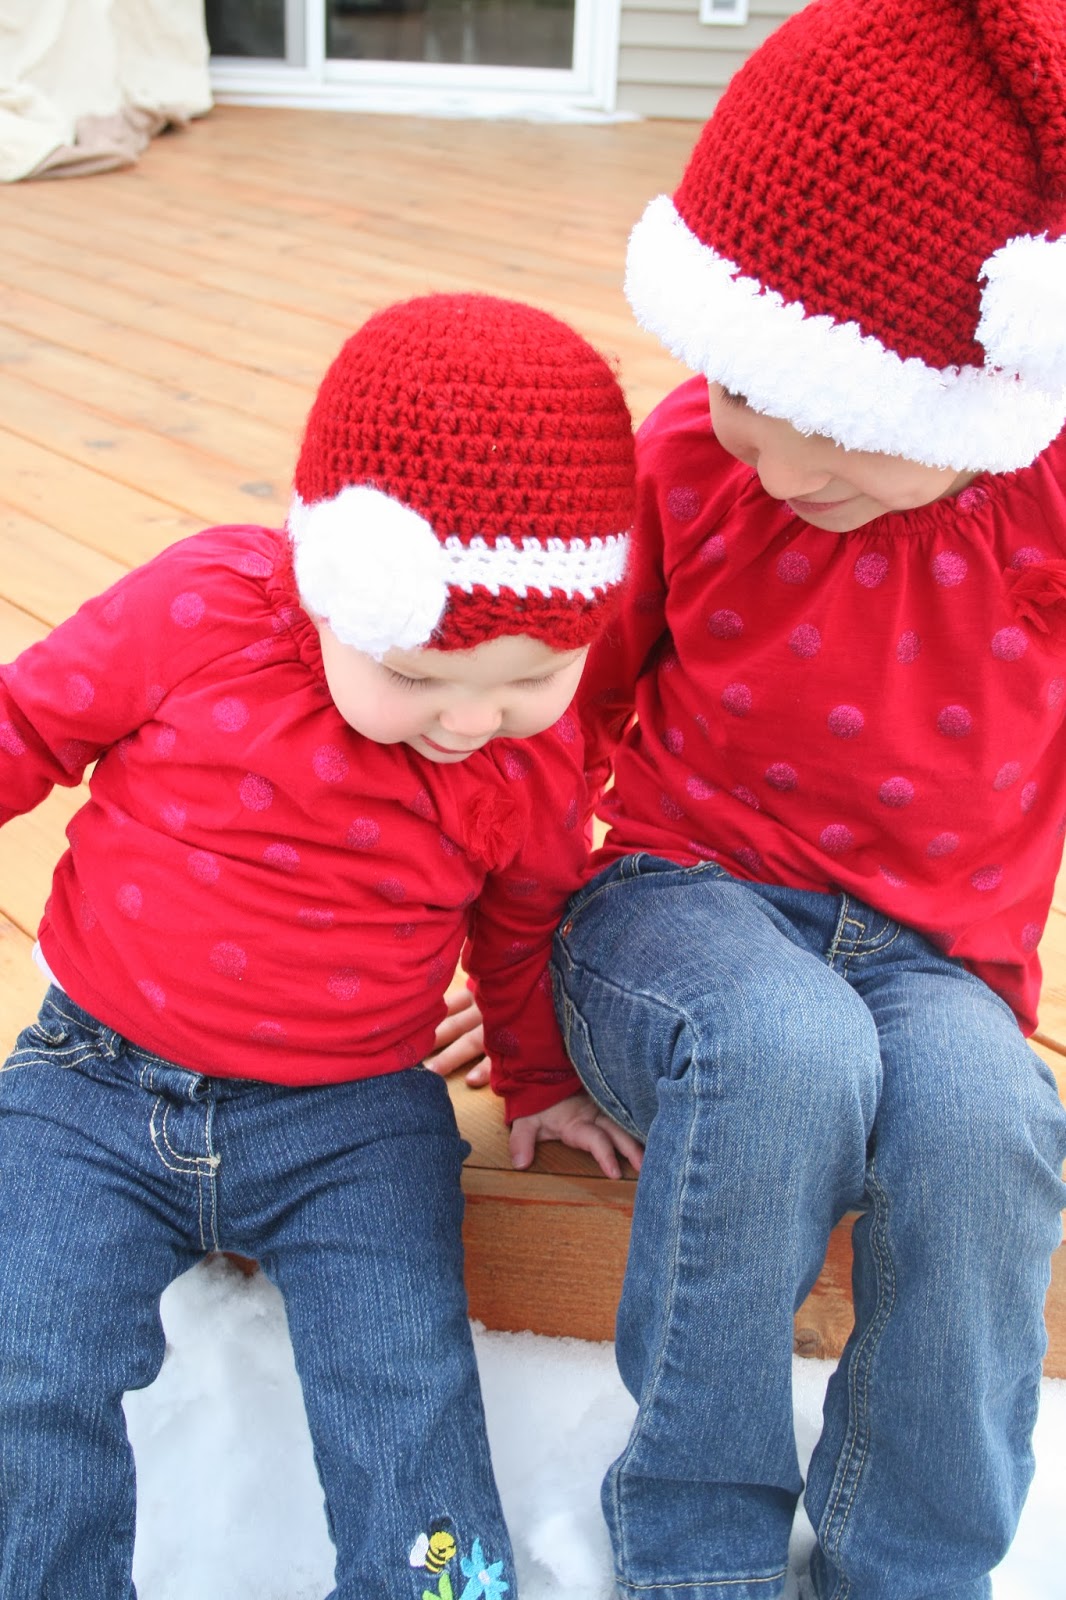
Family Santa Hats
Everyone in the family got a hat! But only just. Each of our hats was reworked at least twice. . . boy do these ones stretch. I used TuTu Boutique's pattern from Ravelry. I sized down to an H hook (I think. . . the last few weeks are a bit of a blur) and the body of the hat ended up with the following number of stitches for each member of the family:
Kate (hat was too big in the end. . . I'll maybe fix it next year) - 70 sts
Kevin - 65 sts
Amelia (5) - 50 sts
Zoe (16 months) - 43 sts
We're following my English roots and not taking the decorations down til the 4th/5th of January so maybe they'll get a little more wear yet.
Sunday, December 15, 2013
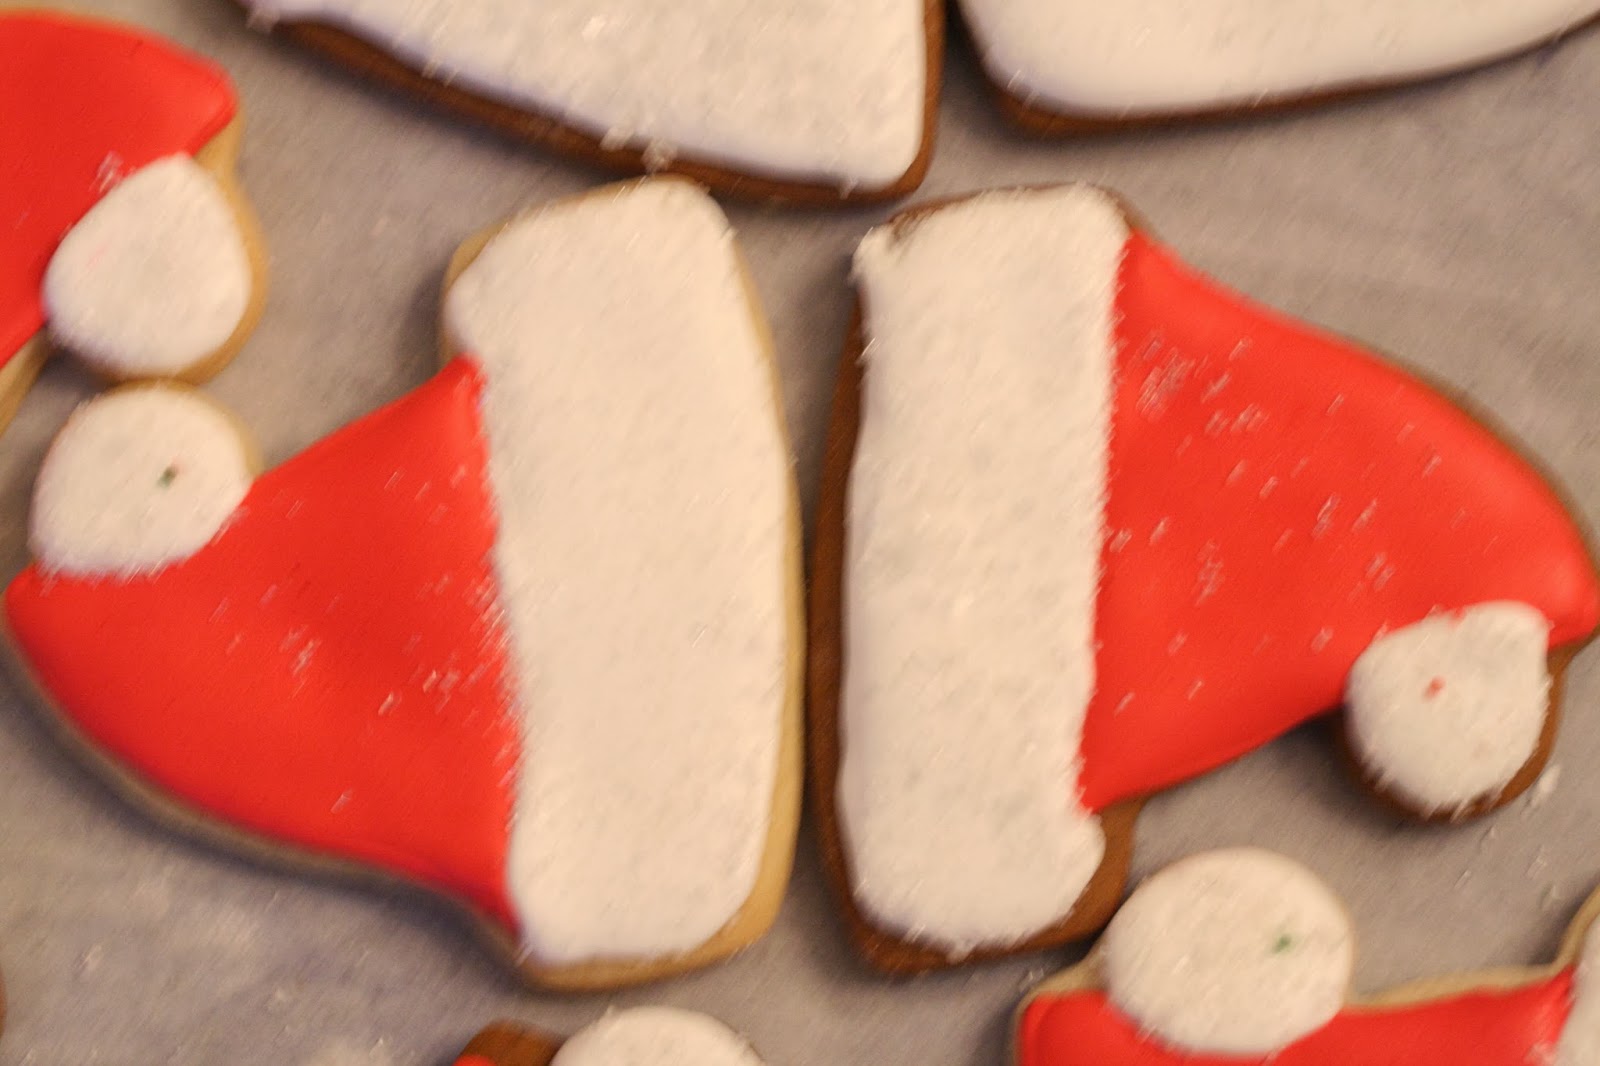
Christmas Cookies
It is that time of year, where I take over the kitchen and dining room and make Christmas cookies. We give them as gifts to friends, teachers, and child watch staff so it has become quite the undertaking.
Every year I tweak what I make and this year discovered a great blog just before I started baking. I switched from the Martha Stewart royal icing recipe that I've been using for the last four years but has caused me a few issues lately to one courtesy of The Sweet Adventures of SugarBelle. For the first time I made two different consistencies of icing (piping and flooding) and it made such a huge difference to how neatly I was able to pipe. . . and for the first time in a while I had no clogs. . . even in my #1 tips. I'll be using this method again, although I may try to work on getting a glossier finish next time. I miss that from Martha's recipe.
This is what 250 cookies looks like stacked.
And here's a few of this years cookies.
Every year I tweak what I make and this year discovered a great blog just before I started baking. I switched from the Martha Stewart royal icing recipe that I've been using for the last four years but has caused me a few issues lately to one courtesy of The Sweet Adventures of SugarBelle. For the first time I made two different consistencies of icing (piping and flooding) and it made such a huge difference to how neatly I was able to pipe. . . and for the first time in a while I had no clogs. . . even in my #1 tips. I'll be using this method again, although I may try to work on getting a glossier finish next time. I miss that from Martha's recipe.
This is what 250 cookies looks like stacked.
And here's a few of this years cookies.
Hopefully, next year I'll remember to get started in November and maybe make a little less red icing. I have a huge bowl left in my fridge.
Cloche Hat
I first made this hat for Zoe in the spring.
I've just finished making one for my cousin's daughter, Eva. . . just in time for Mum to take it over to England with her. It was made to fit a five year old, hence Amelia modeling.
I used this pattern from Crochet Kitten, with a g hook and Bernat Softee Baby yarn in flannel. The smaller hook and lighter (is that the right word?) yarn help me crochet to a similar size as the pattern.
I sized it up to a child size as follows:
In my magic circle, dc 23 in ring, making 12 shells per round throughout the pattern. Repeat rounds 4-5 through round 17, so there are 19 rounds in total.
I ran out of ribbon for Eva's hat so just used some shiny yarn and an h hook for the rim and center of the flower.
I've just finished making one for my cousin's daughter, Eva. . . just in time for Mum to take it over to England with her. It was made to fit a five year old, hence Amelia modeling.
I used this pattern from Crochet Kitten, with a g hook and Bernat Softee Baby yarn in flannel. The smaller hook and lighter (is that the right word?) yarn help me crochet to a similar size as the pattern.
I sized it up to a child size as follows:
In my magic circle, dc 23 in ring, making 12 shells per round throughout the pattern. Repeat rounds 4-5 through round 17, so there are 19 rounds in total.
I ran out of ribbon for Eva's hat so just used some shiny yarn and an h hook for the rim and center of the flower.
Monday, December 2, 2013
Santa Hats
As promised, Amelia got a Santa Hat for Thanksgiving. I wasn't too sure about this one as I was making it, but I love the way it falls when she wears it. I have a second one on my hook. It was going to be for me, but since the bells performance I was making it for tomorrow got cancelled, it may be Zoe's instead as she keeps trying to steal her sister's hat. We'll see if I manage to make one for the whole family by Christmas. . . .there's one or two other things on my to do list.
I used this pattern from TuTu Chic Boutique on Ravelry and Lion Brand Vanna's Choice in cranberry and Bernat Pipsqueak in white.
Tuesday, November 26, 2013
Amelia's Turkey Hat
The five year old has picked up on Mummy's dislike of Christmas starting before Thanksgiving and taken it to a whole new level this year. The mention of anything Christmas-related is met with hands covering ears and often screeching. So, she requested a turkey hat and thanks to Kristen Hankins' My Creative Side Blog I was able to oblige.
In a way, making this hat sums up my crocheting experience. For some reason, I crochet big (if anyone has any suggestions, I'd love to hear them). So after three attempts at the beanie I ended up crocheting the 2-4 year old size with a g hook instead of an h. . . and it's still a little big for my average sized 5 year old.
Now I need to get making a Santa hat (why do I tell her what my plans are??) as she has declared that as soon as Thanksgiving is over, she can't possibly wear the turkey any more. :) Oh well, at least it will still fit her next year.
Subscribe to:
Posts (Atom)


.jpg)